Google Cloud AutoML Vision
Learn how to set up AutoML Vision to prepare for the course exercise

Classifying images with Machine Learning
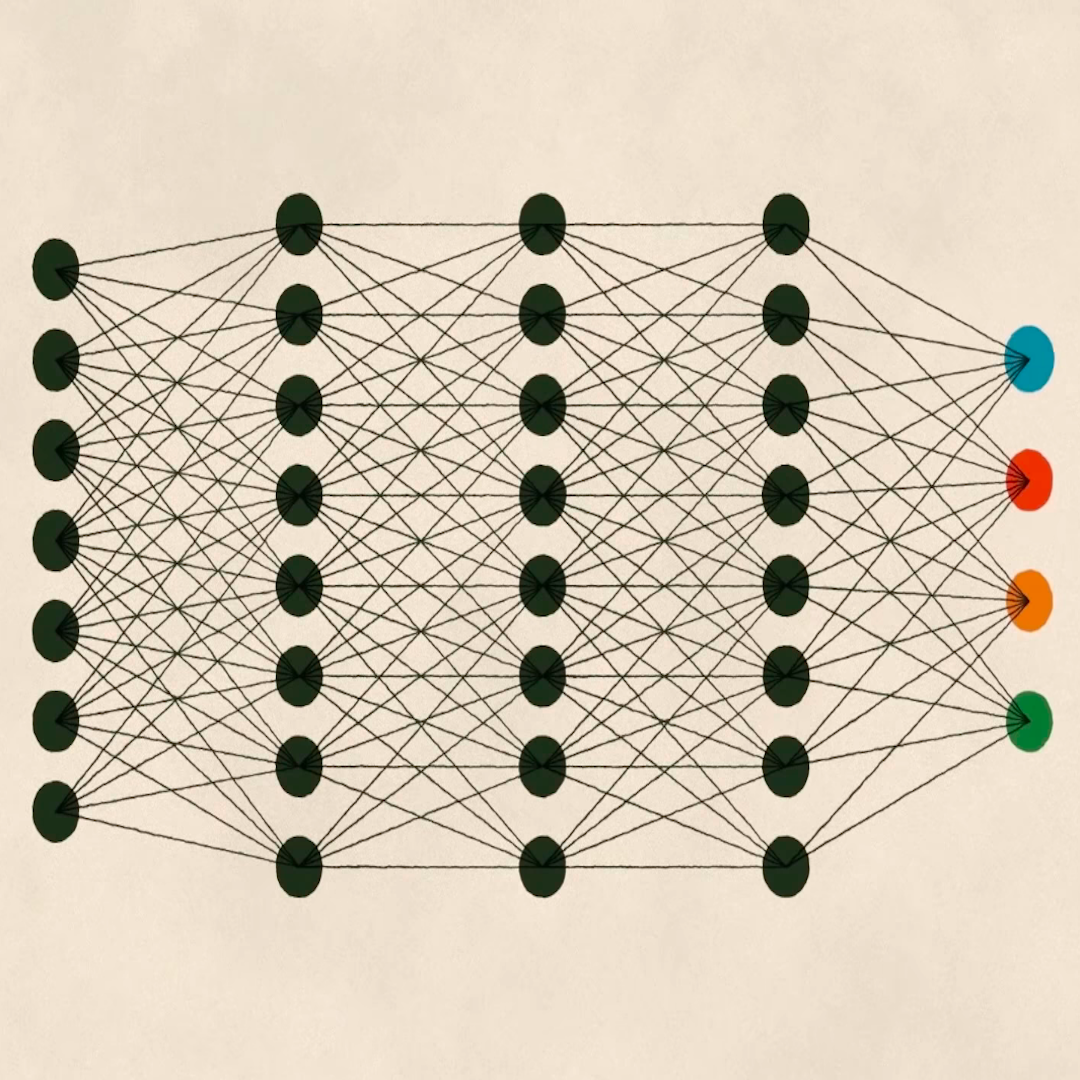
As mentioned in the previous lesson, Texty used two different algorithms in the production of Leprosy of the Land.
After the first algorithm allowed them to divide sections of satellite images of Ukrainian forests into visually uniform subsections, they needed a second algorithm that could identify which sections of satellite images most resembled the existing image examples of amber mining. What they needed was a so-called "custom classifier".

Using labelled examples to learn

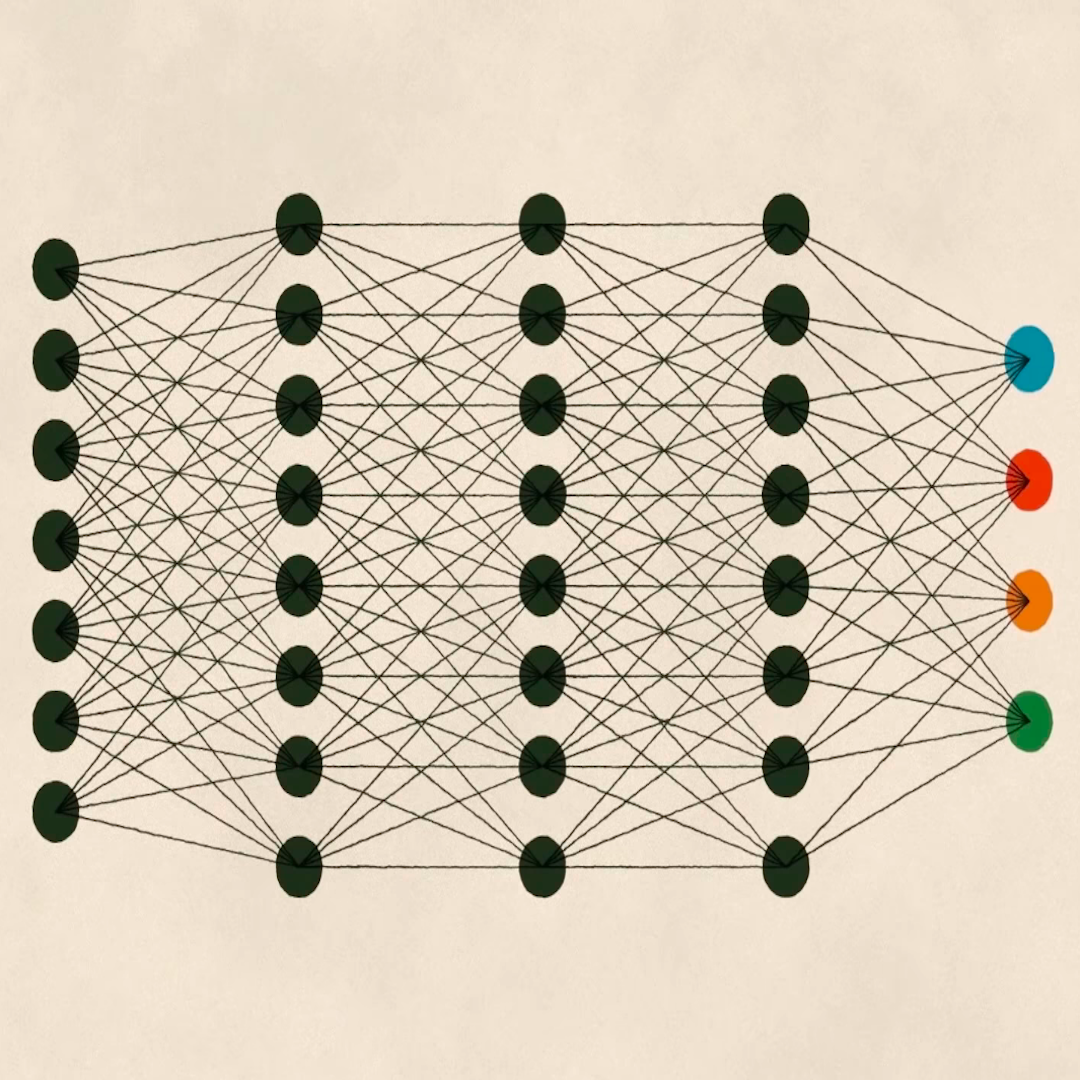
A custom classifier is a type of machine learning model that you can deploy when your use case requires you to apply pre-defined labels to classify a dataset of images you want to investigate.
In our case, those pre-defined labels are simple: "YES: this image includes visual elements consistent with patterns that usually show amber mining activity" and "NO: this image doesn't include visual elements that suggest amber mining activity".
Google Cloud AutoML Vision enables us to do just that. We will learn how to use it to perform supervised learning, that is to say that we will train a machine learning model to apply the appropriate YES and NO labels to a dataset of images we will feed it.

Choosing an algorithm
As Jeremy Merrill of the Quartz AI Studio said in his Crash Course in Classifying Text with Machine Learning, "for your purposes as a journalist – it doesn’t matter much which algorithm you pick, as long as you pick an algorithm that does the right kind of thing."
AutoML Vision is not the only tool we could use to achieve our desired goal. Actually, it is not the algorithm that Texty used during their investigation. The reason why we are using AutoML Vision in this course is its accessibility: you don't need to have any coding skills in order to learn how it works and to train a high-performing model on your data.
If you do have coding skills already and you want to dig deeper, have a look at fast.ai's Practical Deep Learning for Coders.

Setting up your Google Cloud account
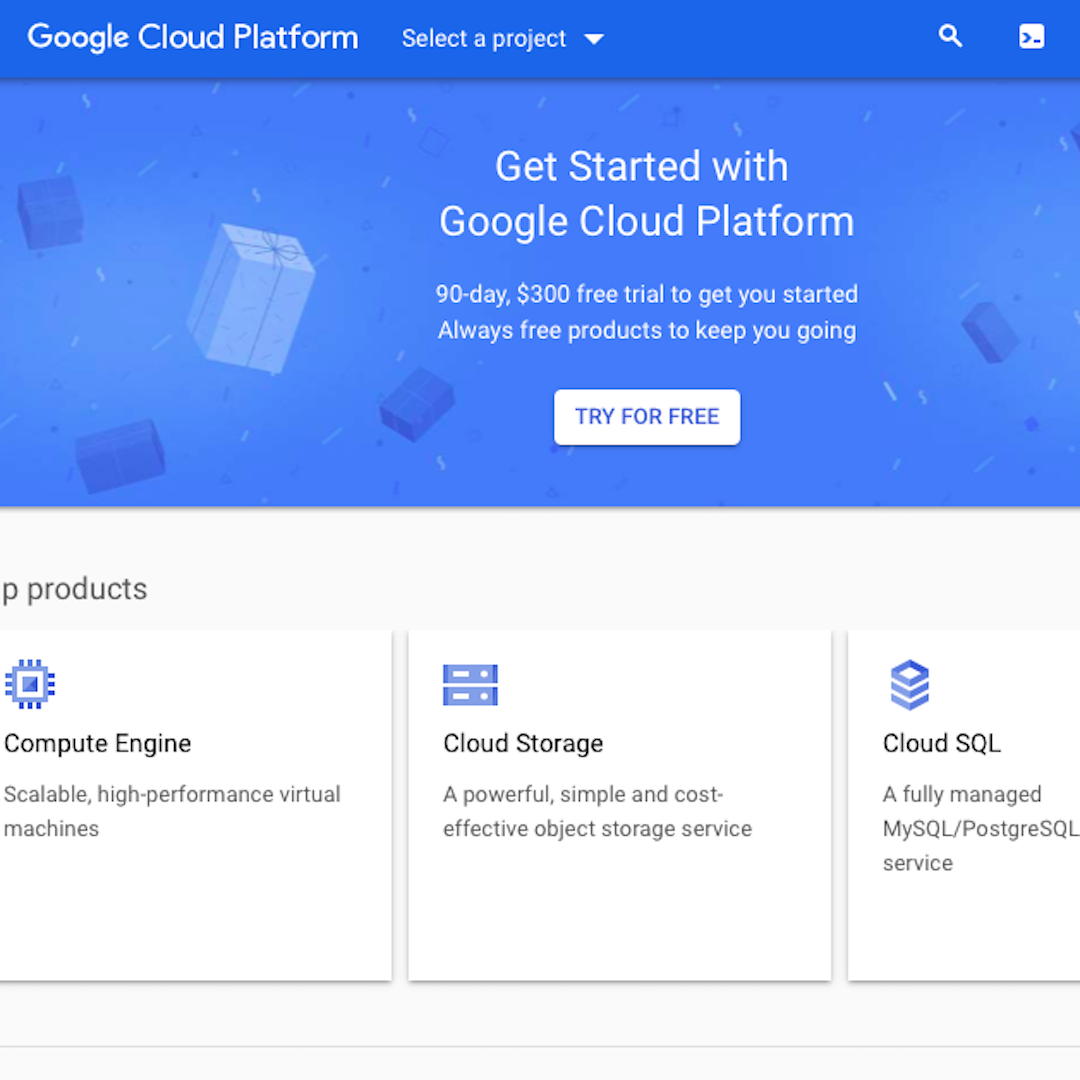
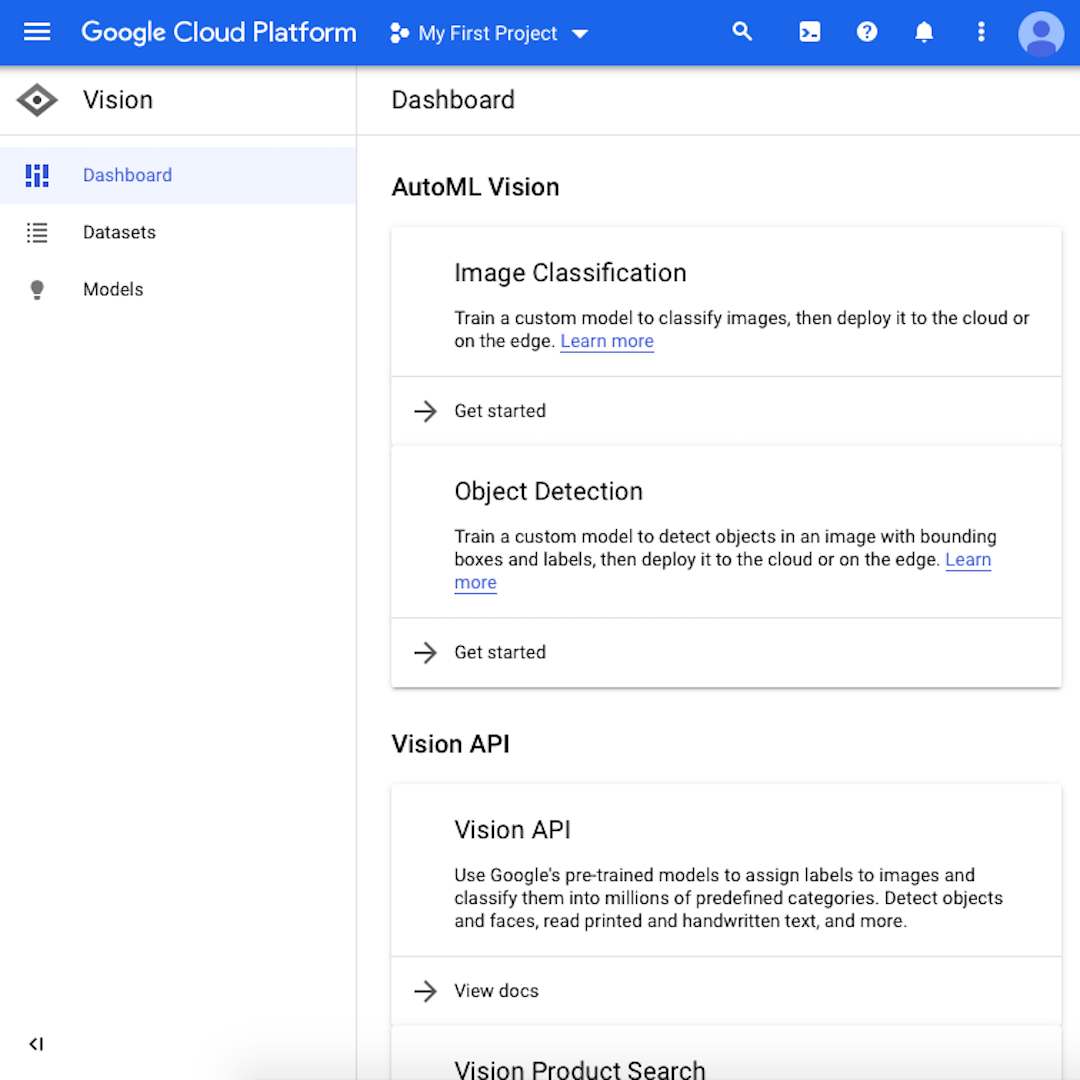
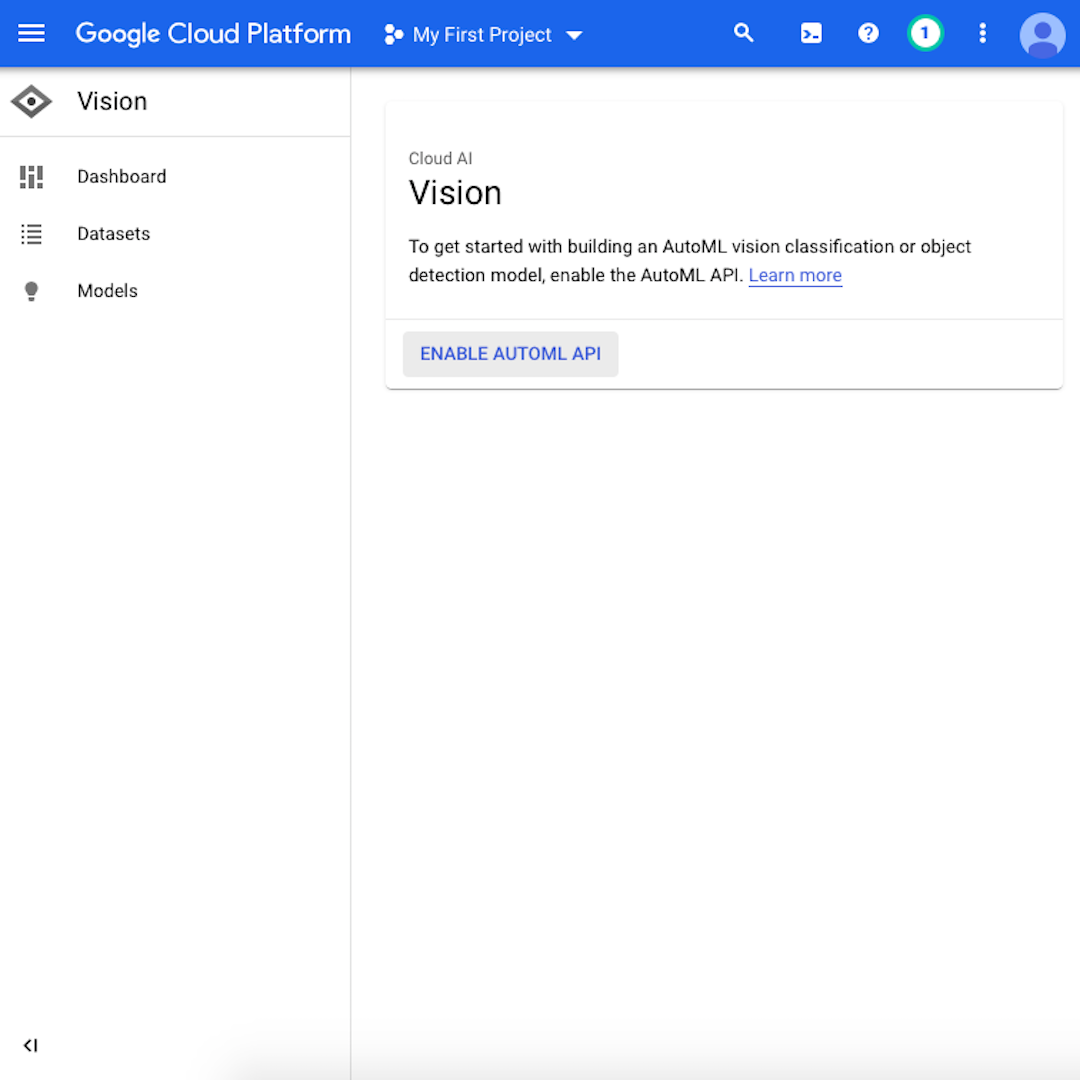
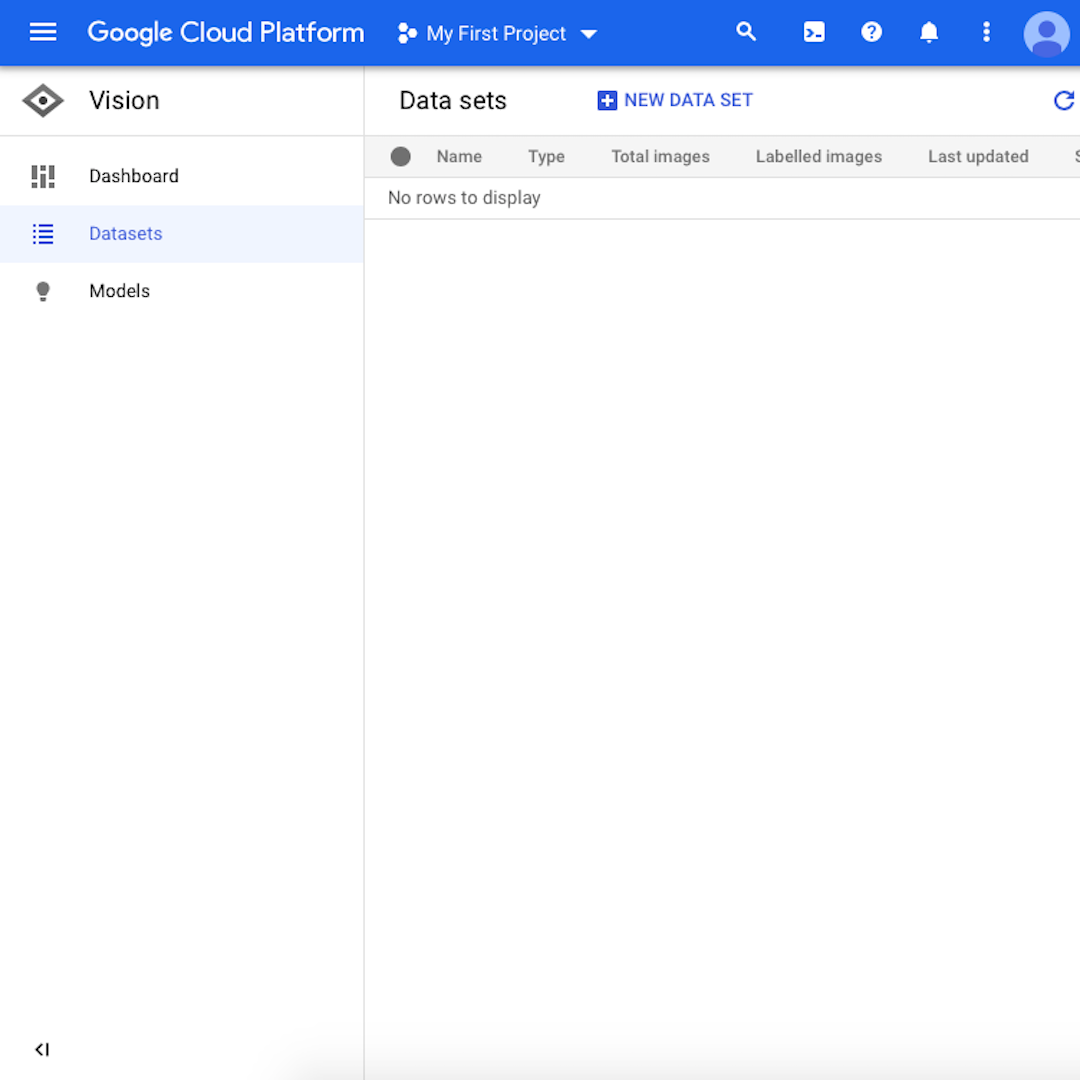
To use AutoML Vision, you'll have to sign up for a Google Cloud account. Upon signing up, you will be granted $300 of credit to start your experiments. Each exercise in training a machine learning model, like the one we'll do in this course, costs about $20. Follow this step-by-step guide:
Click on “Try for Free” under “Get Started with Google Cloud Platform” and follow the instructions to create your account.
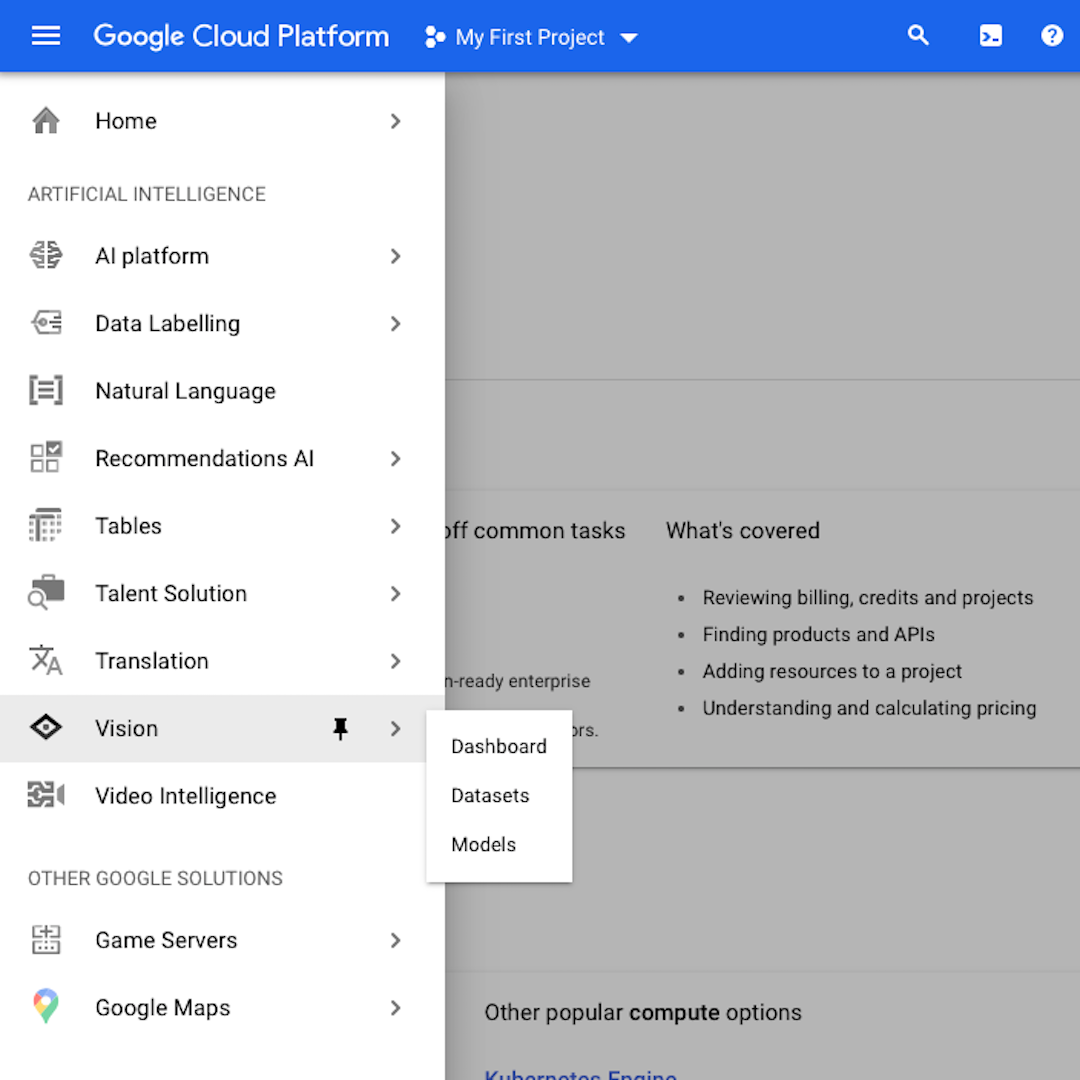
When you have created the account, open the navigation menu on the left side of the page and scroll to the very bottom to find “Vision” in the “Artificial Intelligence” section. Click on “Dashboard”.
You have now accessed your workspace, which shows the Google Cloud “Vision” tools, including the one we will use: “Image Classification”. Click on “Datasets” in the navigation menu on the left side.
Next, click on “Enable AutoML API”. The process might take a few seconds. Then, click on “Get Started”.
At this point, you should see a mostly blank screen as you have not yet updated any dataset. This is what we will do in the next lesson.


Moving forward
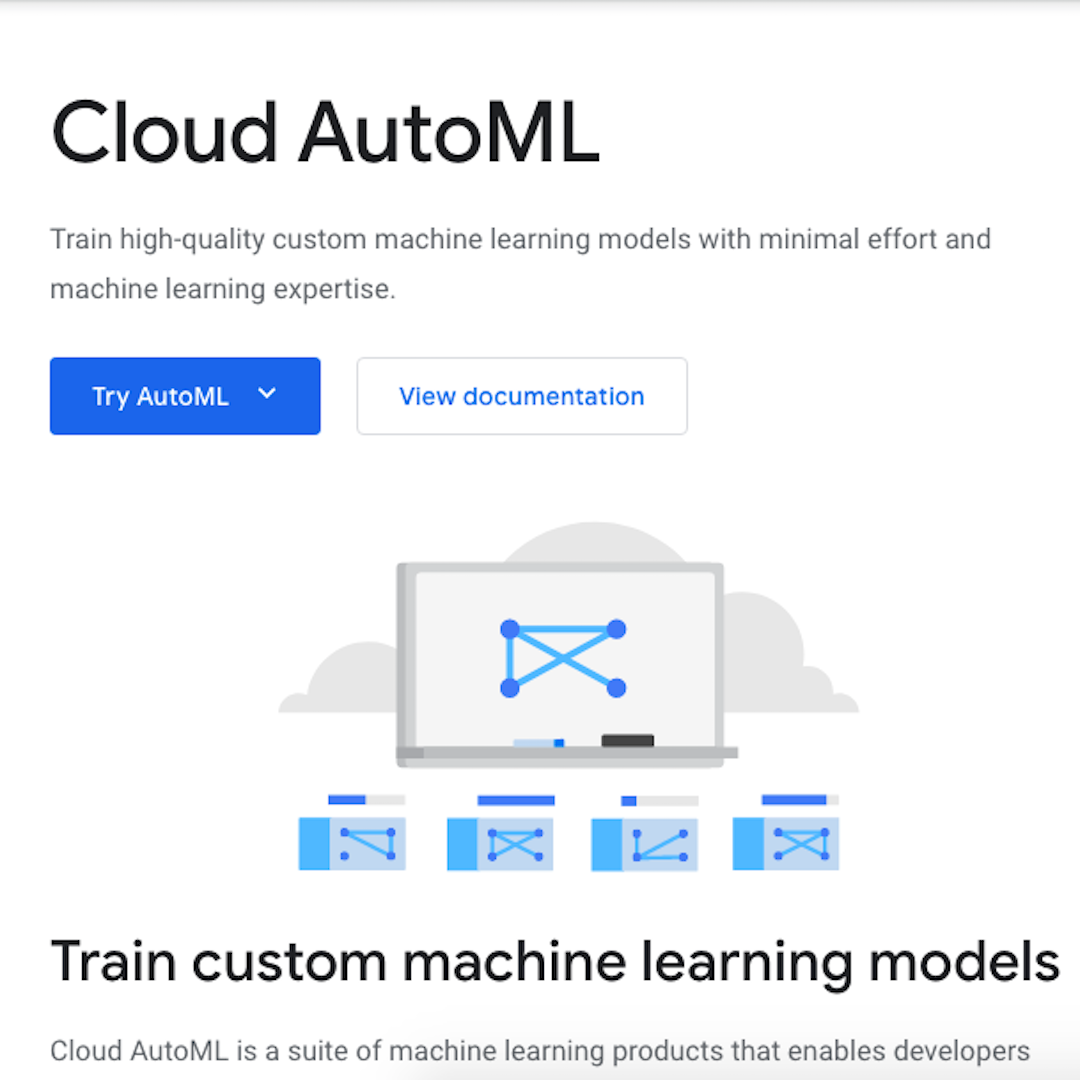
Now you are ready to use AutoML Vision. In the rest of the course, we will learn how to use it to achieve our desired outcome: to train a machine learning model to recognise illegal amber mining.
Texty and JournalismAI are partnering in the production of this course. Thanks to this partnership, we will be able to use a sample of the actual satellite images used by Texty while investigating Leprosy of the Land.
Before we move forward, make sure to check the other AI and machine learning products offered by Google Cloud, including Natural Language, Translation, Speech-to-Text and Text-to-Speech, and much more.

-
-
Introduction to Google Earth Engine
LessonUse a multi-petabyte library of satellite imagery and data to detect changes, map trends, and quantify differences on the Earth's surface -
Basics of Google Trends
LessonThis beginner’s course will teach you the basics of Google Trends, using the free Trends Explore tool.


